How to Build a Lesson Template
Build a single Elementor Theme Builder template that controls the layout of every LifterLMS lesson, so you design the lesson page once instead of editing each lesson.
- Elementor Pro (the Theme Builder is a Pro feature), LifterLMS, and Lifter Elements installed and active.
- At least one course with lessons, so the template has content to preview.
- A basic understanding of where Lifter Elements registers its Theme Builder locations. See Theme Builder Locations.
1. Create a Single Post template
In the WordPress admin, go to Templates > Theme Builder.
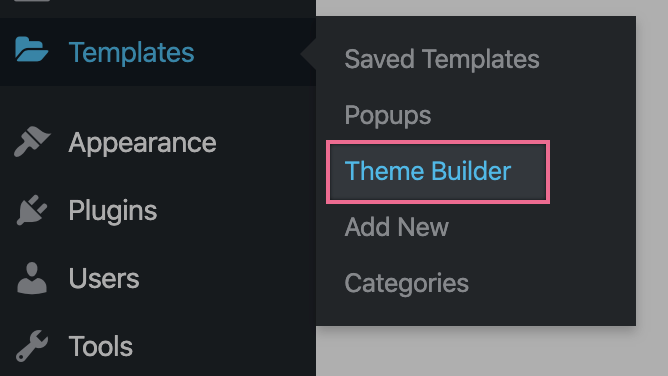
Click Add New at the top of the Theme Builder screen.

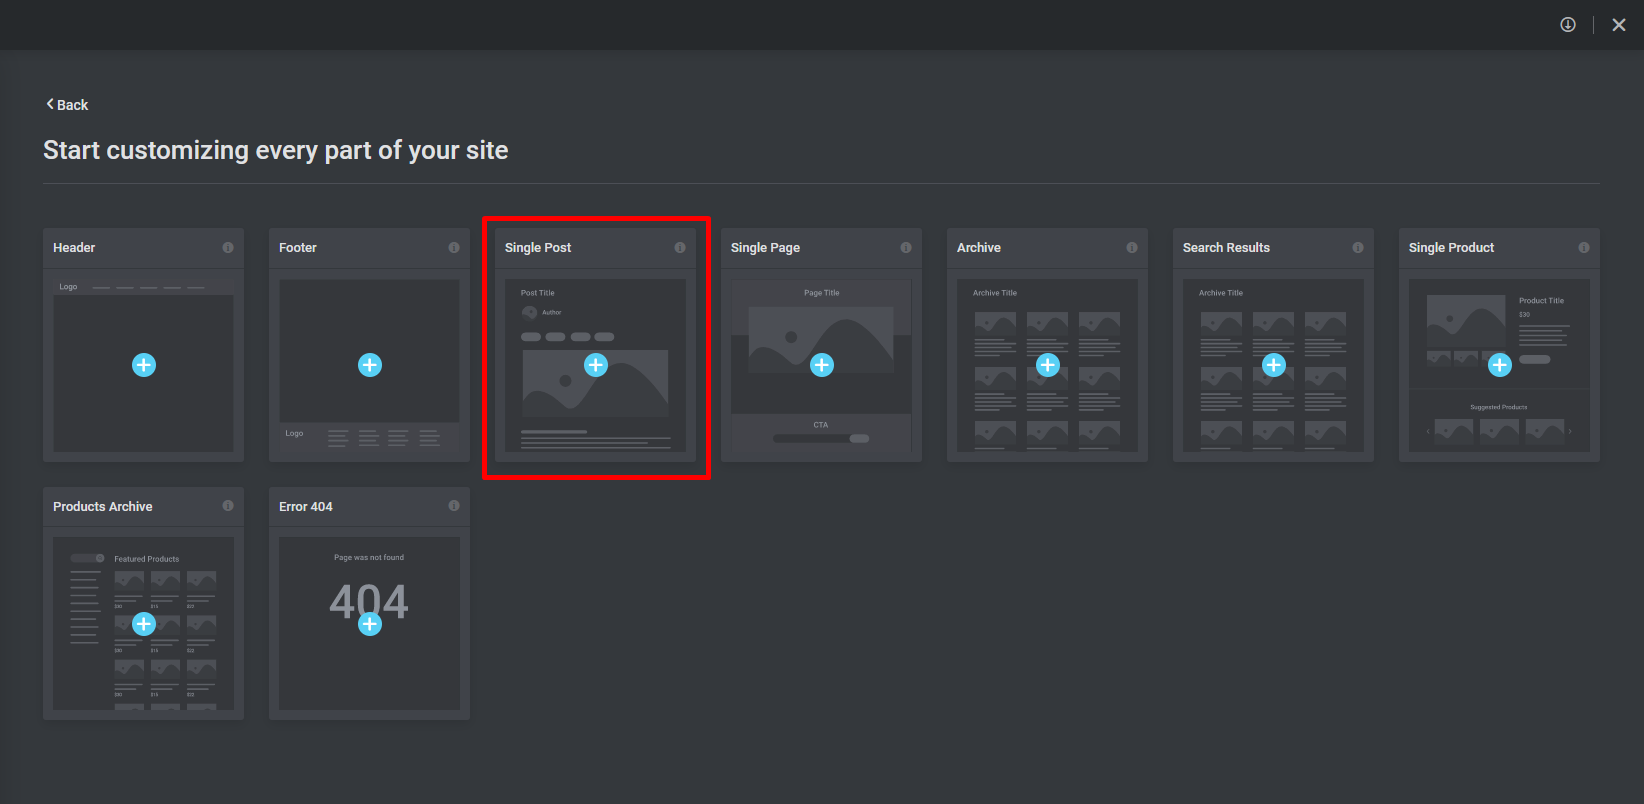
In the dialog, set the template type to Single Post, give the template a name such as "Lesson", and click Create Template. Elementor opens the editor. Close the template library if it appears, or pick a pre-built design as a starting point.
2. Lay out the lesson
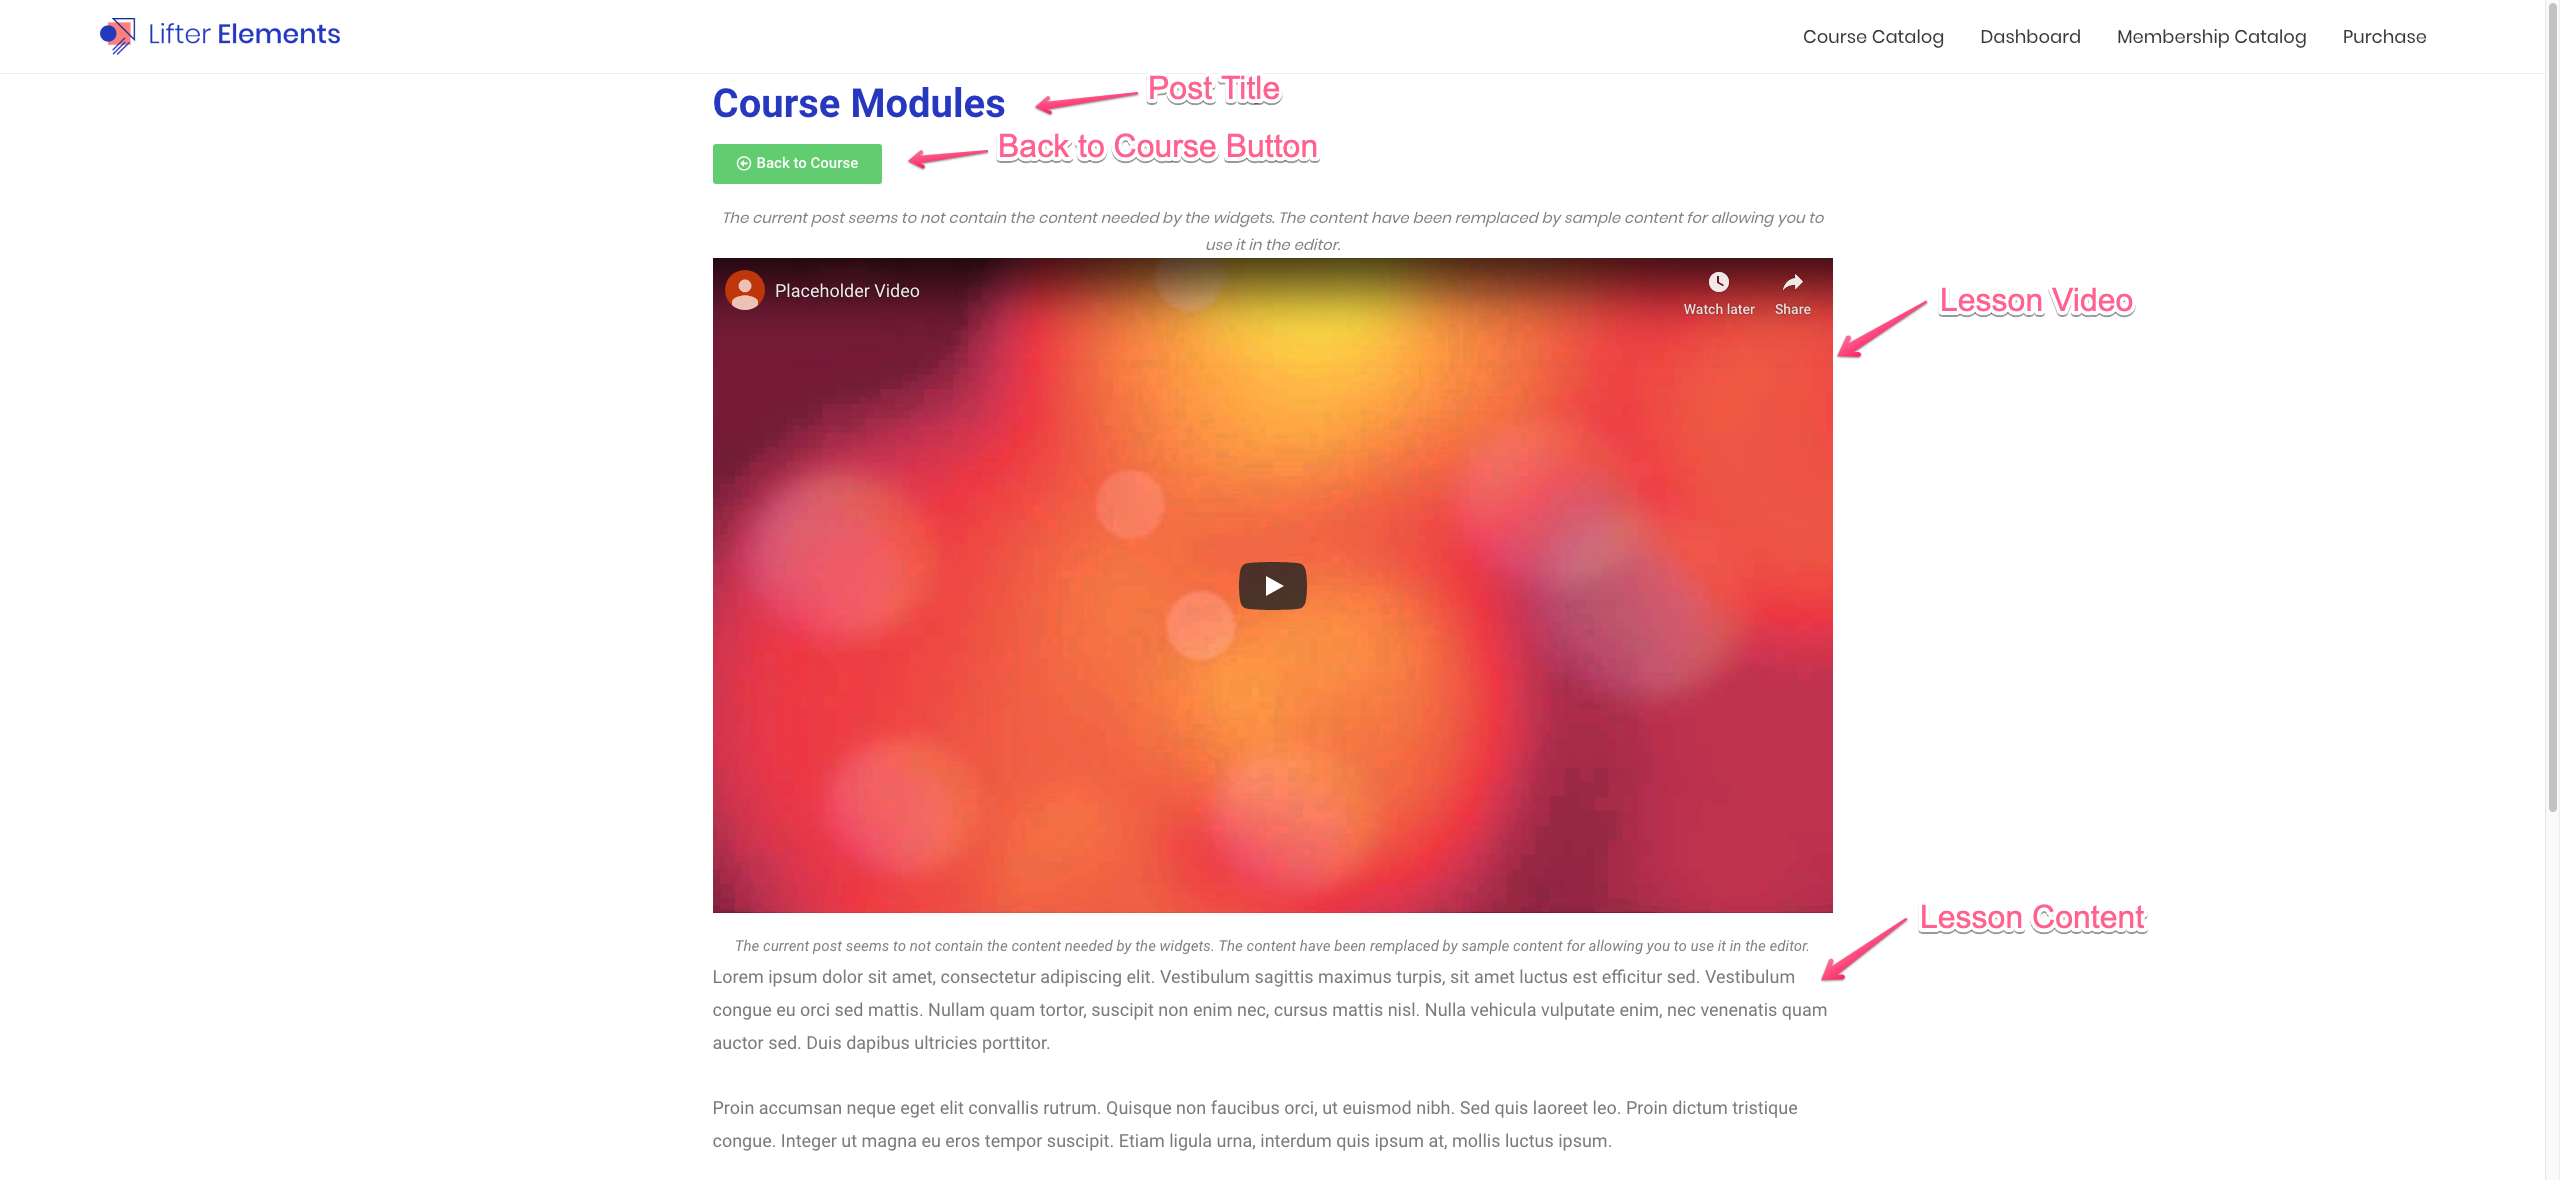
Drag widgets from the Lifter Elements category of the widget panel onto the canvas. The order below is a common lesson layout; each widget reads the current lesson automatically, so there is nothing to configure per lesson.
- Post Title (Elementor) — renders the lesson title.
- Back to Course Button — links back to the lesson's parent course.
- Lesson Video — embeds the video set in the lesson's settings.
- Lesson Content — renders the lesson body written in the lesson editor.
- Course Outline — lists the course's sections and lessons, with the current lesson highlighted.
- Lesson Navigation — previous and next lesson links.
- Lesson Complete Button — lets the student mark the lesson complete.
To preview with real content while editing, open Settings (the gear icon at the bottom of the panel) and choose a lesson under Preview Settings. The lesson widgets and the lesson dynamic tags only output on lesson pages, so previewing a post or page shows them empty.
3. Publish with a display condition
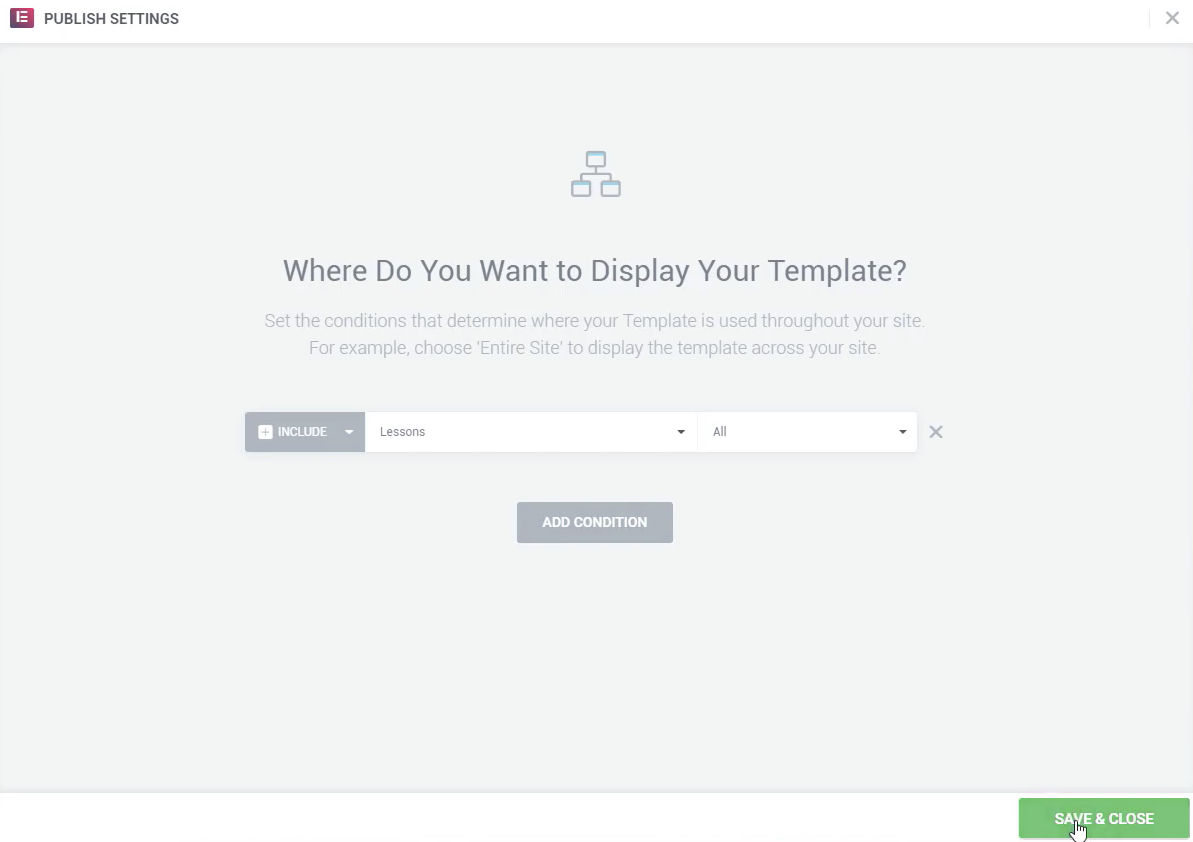
Click the arrow next to Publish and choose Display Conditions.
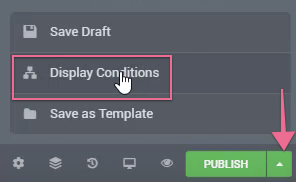
Click Add Condition, then set it to Include > Singular > Lessons > All and click Save & Close. Narrow the condition instead if the template should only apply to certain lessons. See Elementor's display conditions guide for the available options.
Result
Every lesson on the site now uses this template. Open any lesson from the front end: the title, video, content, outline, navigation, and mark-complete button all reflect that lesson. When a lesson is drip-locked for the viewing student, the Lesson Video and Lesson Content widgets return no media or content until the lesson is released.
Build the matching course and quiz layouts next: How to Build a Course Template and How to Build a Quiz Template.
The lesson template is where a drip countdown makes sense. Add a Heading widget next to Lesson Video and bind its text to the Lesson Drip Countdown dynamic tag so a locked lesson shows when it unlocks (see Drip tags; administrators never see the countdown). Alternatively, use conditional logic to show a "This lesson is locked" message in place of the content.