How to Build a Course Template
Build one Elementor Theme Builder template that lays out the title, author, meta, video, syllabus, and access plans for every LifterLMS course on your site.
- Elementor Pro (the Theme Builder, and the Course Author and Course Access Plans widgets, depend on it).
- LifterLMS and Lifter Elements installed and active.
- At least one published course with an access plan, so the template has content to preview.
- Familiarity with where templates apply: see Theme Builder Locations.
1. Create a Single Post template
In the WordPress admin, go to Templates > Theme Builder.
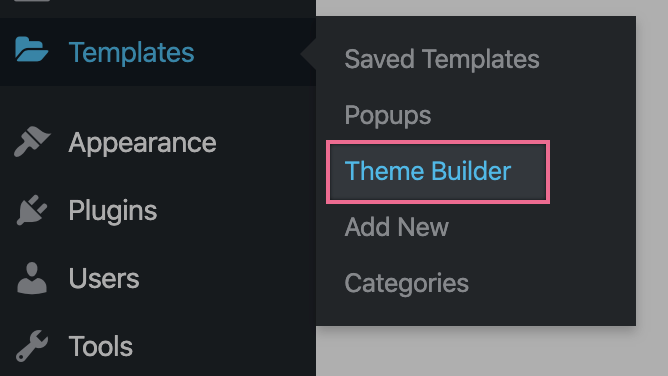
Click Add New next to My Templates.

In the dialog, set the template type to Single Post, give the template a name such as "Course", and click Create Template. The Elementor editor opens. If the template library appears, close it to start from a blank canvas.
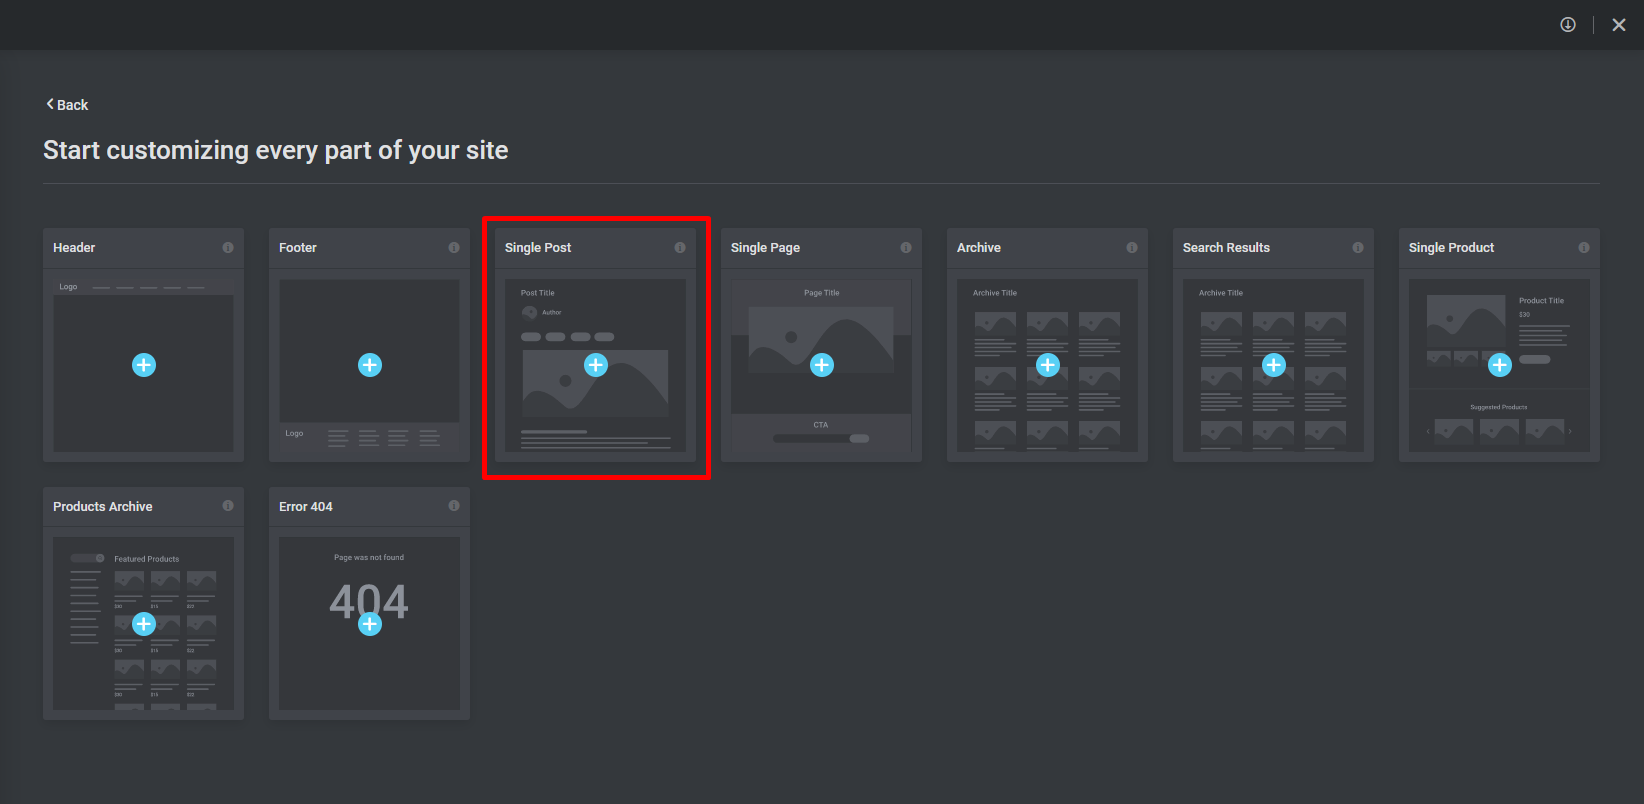
2. Lay out the course page
Drag widgets from the panel onto the canvas in the order you want them to appear. Lifter Elements widgets are in the Lifter Elements category. A typical course page uses:
- Post Title (Elementor) — the course name.
- Course Author — the instructor's name, avatar, and bio. Requires Elementor Pro.
- Icon Box ×2 (Elementor) — course length and difficulty, filled by dynamic tags in step 3.
- Course Access Plans — pricing and enroll buttons for each plan. Requires Elementor Pro.
- Course Video — the course's featured video.
- Course Syllabus — sections and lessons.
- Course Meta — categories, tags, tracks, and other course details.
- Course Continue Button — sends enrolled students to their next lesson.
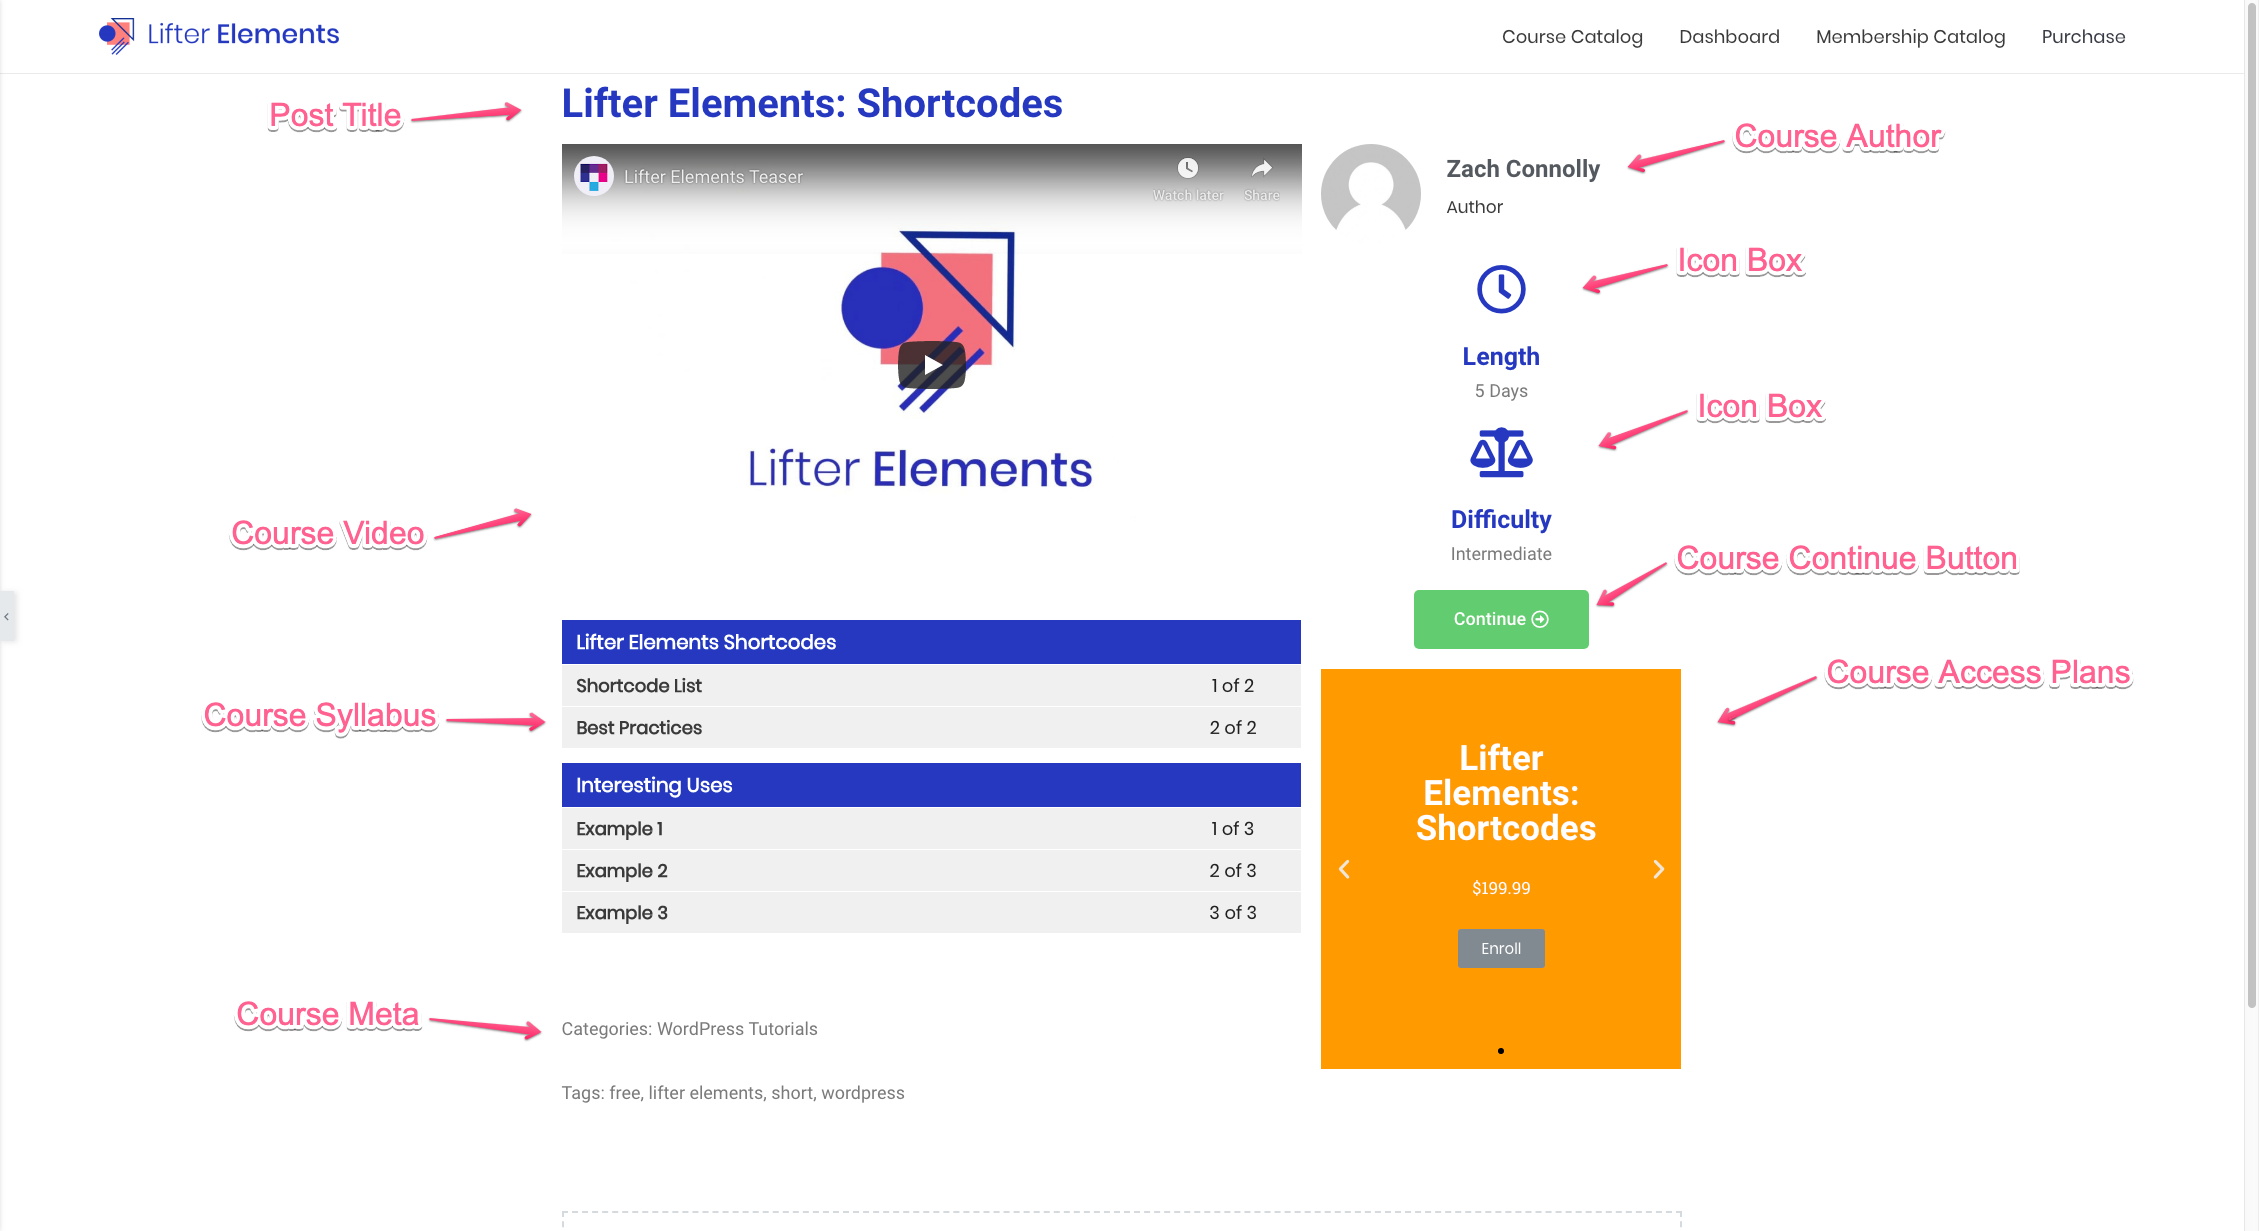
The editor previews the template against one of your courses. To preview a different course, open Settings (the gear icon at the bottom of the panel) and change Preview Settings.
3. Add course meta with dynamic tags
Each Icon Box shows a value pulled from the current course rather than typed text.
- Select the first Icon Box. On the Content tab, click the Dynamic Tags icon next to the Title field.
- Under LifterElements: Course, choose Course Information. Click the tag to open its settings and set Field to Length.
- Select the second Icon Box and repeat, this time choosing Course Difficulty.
- Pick an icon for each box and, if you want a label, use the Description field.
The boxes now display the length and difficulty set in each course's Course Options in LifterLMS.
4. Publish with a display condition
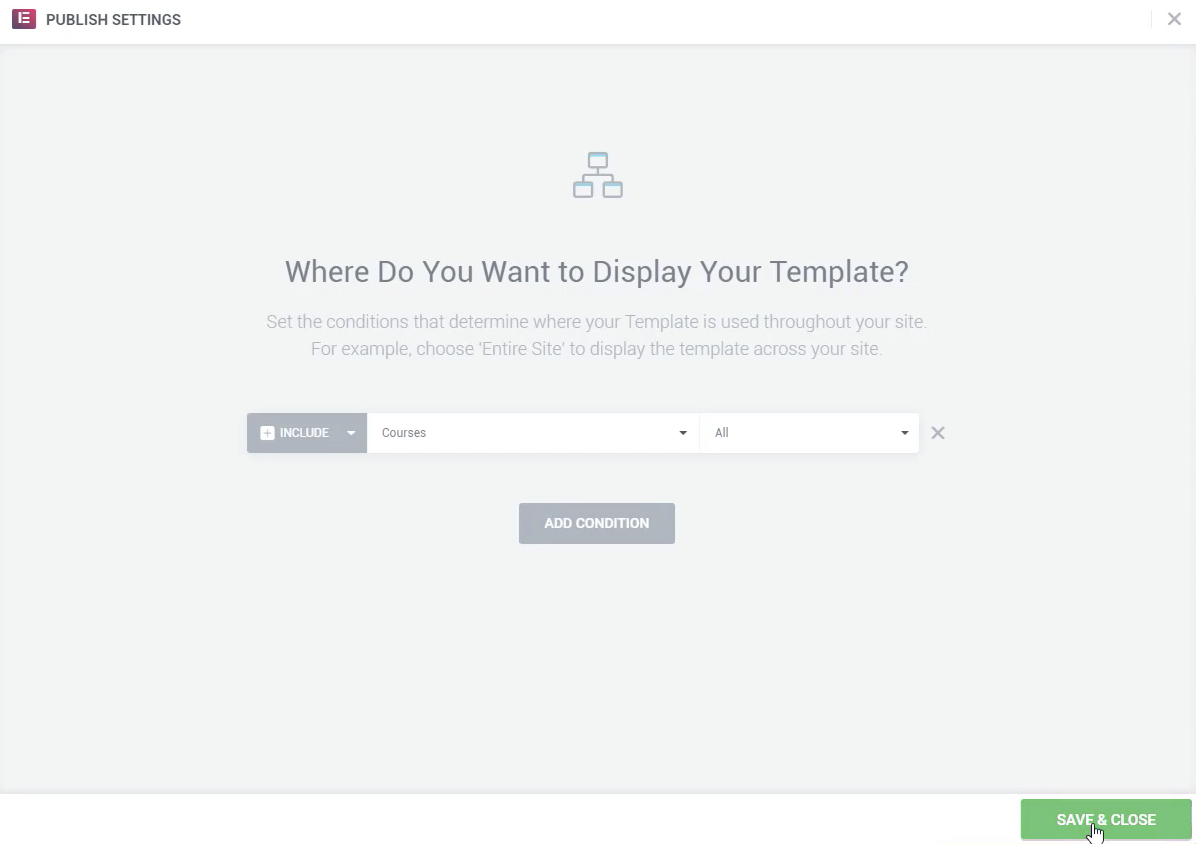
Click the arrow next to Publish in the bottom-left corner of the editor, then click Display Conditions.
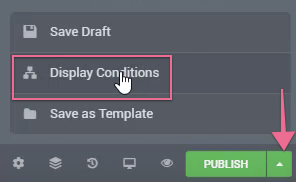
Click Add Condition and set it to Include > Singular > Courses > All, then click Save & Close.
Result
Every course on your site now uses this layout. Open any course on the front end: the title, author, length, difficulty, video, syllabus, meta, and access plans all reflect that course, and the Course Continue Button appears for enrolled students. Edit the template in the Theme Builder to change every course page at once.
Pair this template with a lesson template and a course archive template to cover the full course browsing and learning flow.
If an access plan has LifterLMS Groups group enrolment enabled, Course Access Plans shows a seat-count selector for that plan automatically. See How to Sell Seat-Based Group Enrollment.