How to Create an Organization and Assign Seats
Set up an organization, give it seats, and assign members to them so they receive access.
Before you start: create an organization type and the seat type(s) and license type(s) the organization will use.
Create the organization
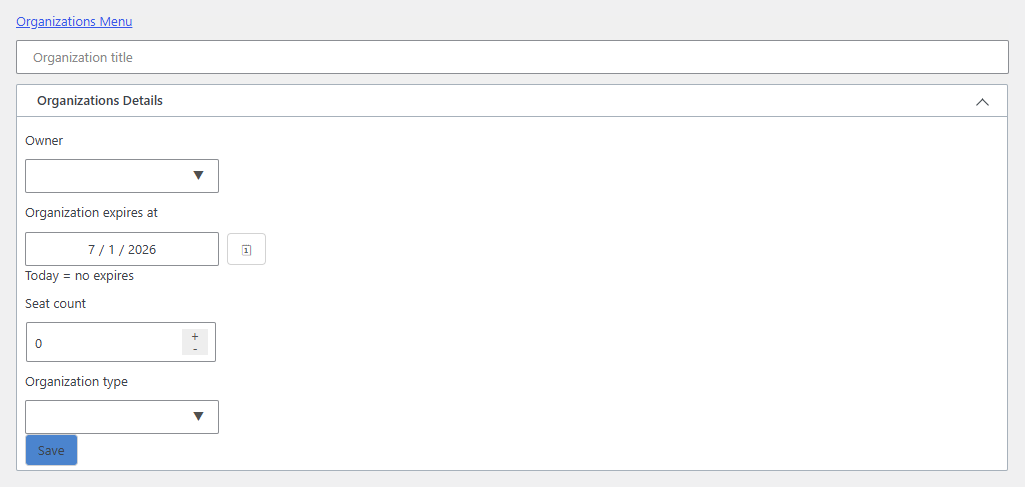
- Go to MemberSync > Organizations > Add new and give it a title.
- Open Organizations Details and set:
- Owner: the account that owns and manages the organization. Set this, because the owner manages the organization from the dashboard (adding members, assigning seats), so an organization with no owner can't be managed.
- Seat count: how many seats the organization has.
- Organization type: the organization type it's based on.
- Save.
Add members and assign seats
Adding members to an organization is still being finalized in the current release. On this build, a member may not be added even though the form submits. The steps below describe the intended workflow.
Members and seats are managed by the organization's owner from the front-end MemberSync Group Dashboard. Signed in as the owner, open the dashboard, find the organization, and choose View to open its management page:
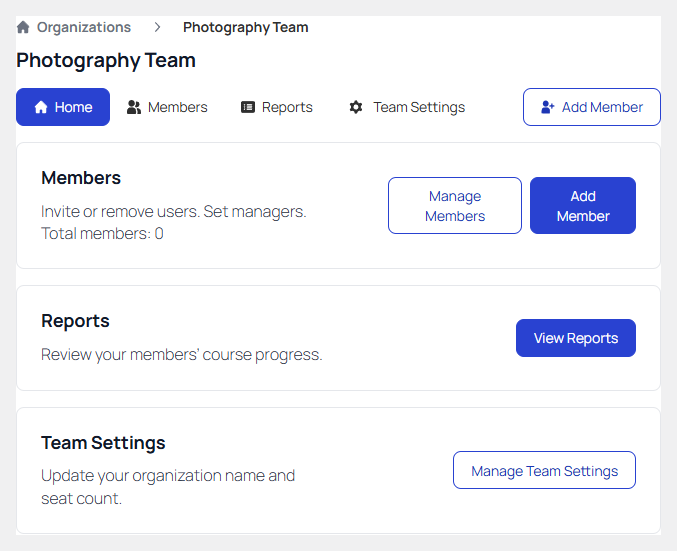
From here you can:
- Add Member: add a person by name and email, with a role (member or manager), or invite them. Each member added takes a seat.
- Manage Members: remove members, or promote a member to manager.
- Manage Seats: add more seats to the organization if you run out.
- Reports: review your members' course progress.
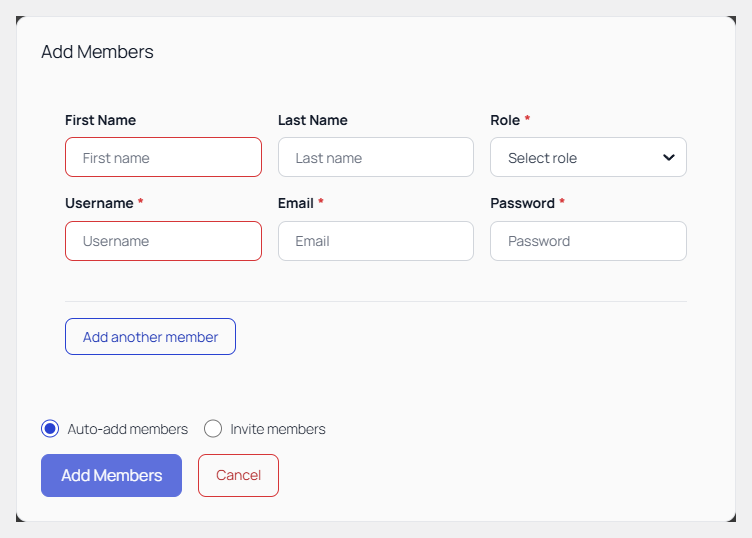
Adding members opens a short form. Enter their details (or switch to Invite members) and select Add Members:
Result
Members assigned to seats receive the access their seat's licenses grant.