How to Build a Lesson Template
In Using Modules you added a single module to an existing page. In practice, most BeaverDash work happens in Beaver Themer templates — one layout that applies to every lesson on your site automatically, pulling in the correct data for each one.
This tutorial walks through building a complete lesson template from scratch.
- Completed Using Modules and Field Connections in Beaver Themer
- Beaver Themer installed and active
- At least one published LearnDash lesson with content
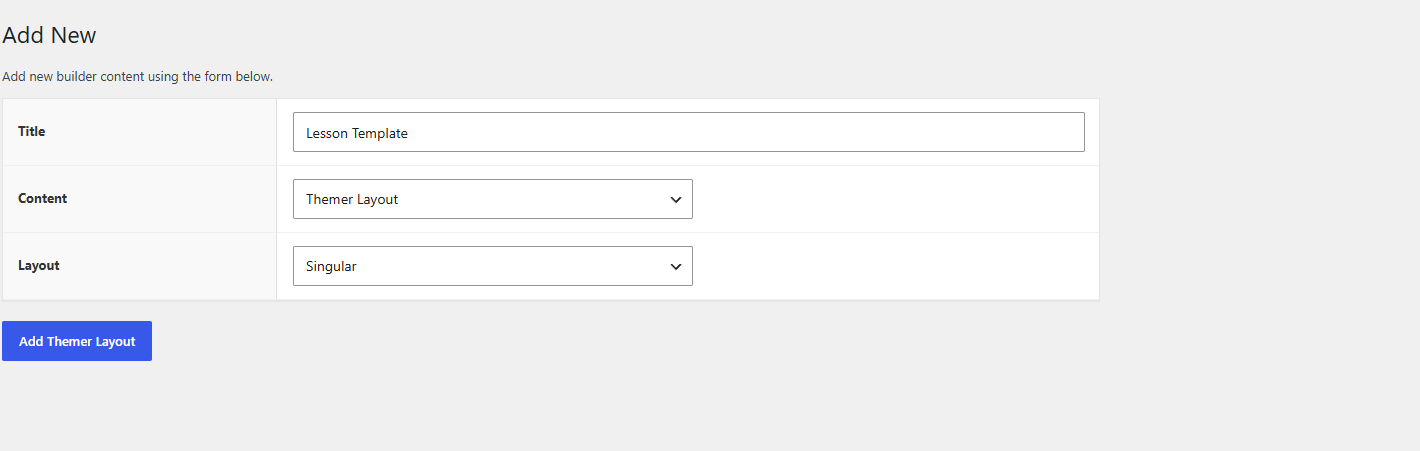
1. Create a new Themer layout for lessons
Go to Beaver Builder > Themer Layouts and click Add New. Set the type to Singular and the location to LearnDash > Lessons. Click Launch Beaver Builder to open the editor.
2. Add a lesson header
Add a row at the top. Add a standard Beaver Builder Heading module and connect it to the lesson title: click the connect icon on the heading text field and select BeaverDash - Lesson > (none available directly — use Post title) or use the [bdash_lesson_title] shortcode in an HTML module.
Then add the BeaverDash Video module below the heading. This pulls the lesson's featured video from LearnDash automatically. If a lesson has no video, the module renders nothing.
3. Add the lesson content
Add the BeaverDash Content module. This renders the body content of whichever lesson the learner is viewing — the text, images, and embeds entered in the WordPress editor for that lesson.
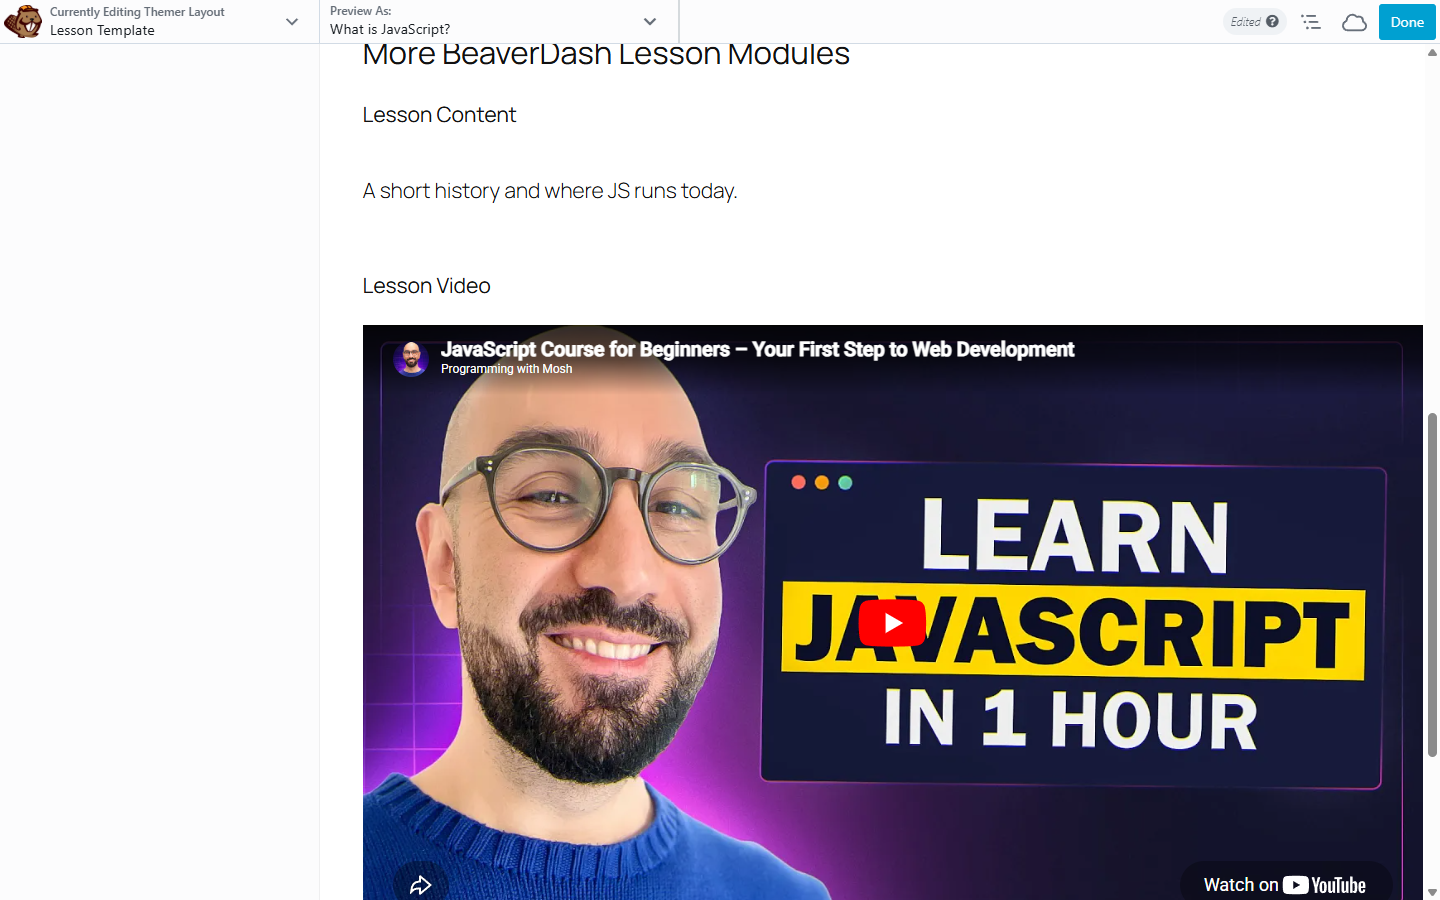
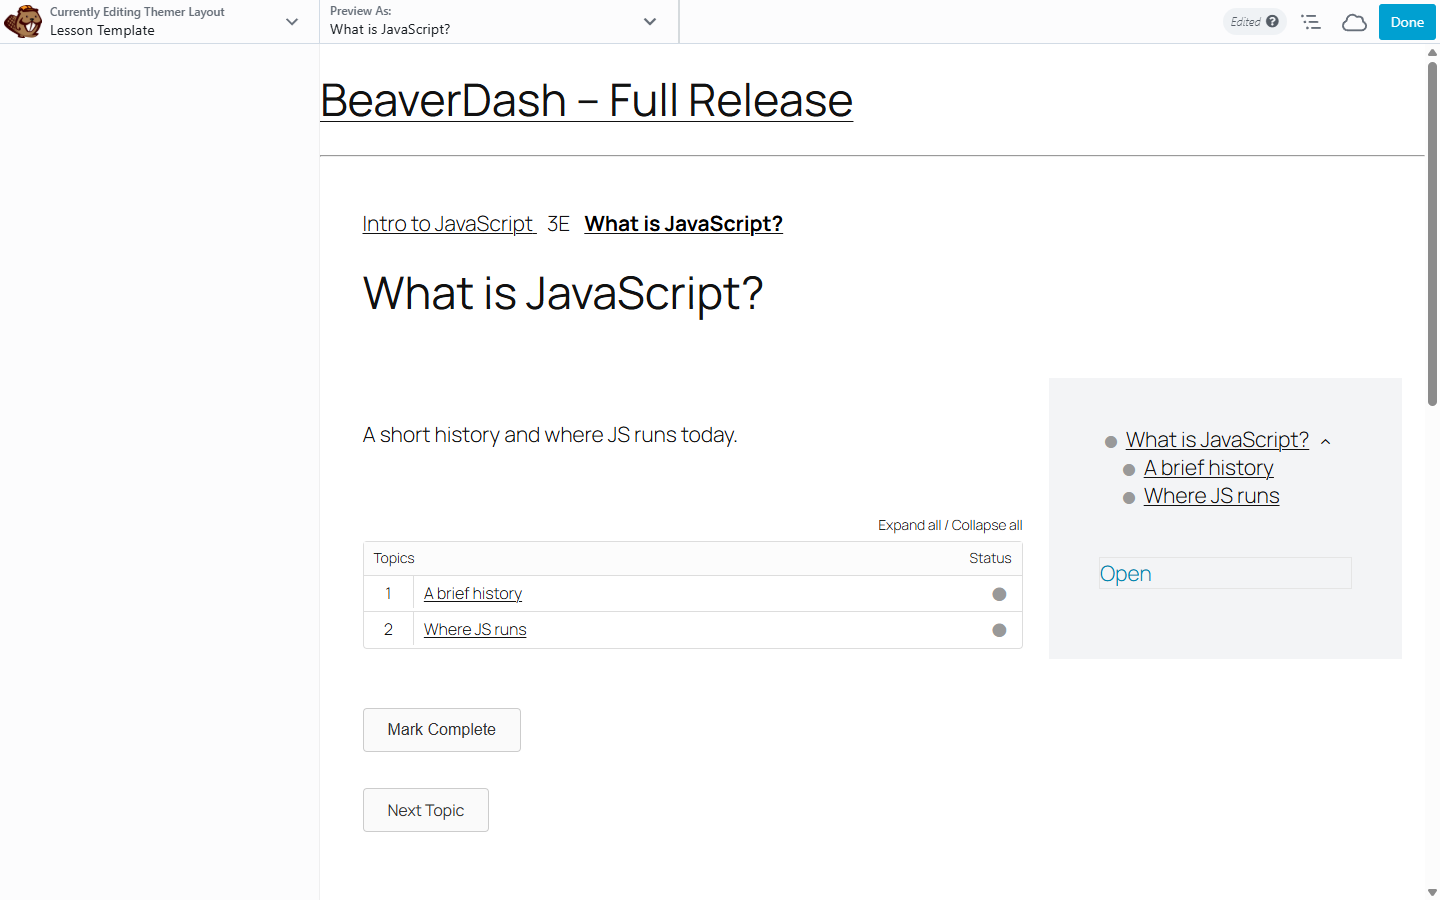
4. Add lesson navigation
Add a row below the content. Place the BeaverDash Lesson Navigation module in a sidebar column. This shows the learner the topics within the current lesson, with completion status icons updating as they progress.
In a separate column, add the BeaverDash Mark Complete button. This appears automatically when the lesson can be marked complete and hides once it is done.
5. Add previous/next navigation
Below the main content row, add the BeaverDash Navigation module twice in the same row — one set to Previous, one to Next. Each resolves its target automatically from LearnDash's course sequence. Both hide automatically when there is no item in that direction.
6. Save and preview
Save the layout. Visit any published LearnDash lesson — the template should render with that lesson's content, video, and navigation. Visit a different lesson to confirm the data changes automatically.
What you've accomplished
You built a complete lesson template that applies to every lesson on your site. The modules pull the correct data for each lesson automatically — no per-lesson configuration needed. To apply the same approach to topics, create another Themer layout targeting LearnDash > Topics and follow the same steps.