5.6 Certificate Image
The Certificate Image feature adds a second featured image to LearnDash certificates, for example a seal, signature, or alternative artwork, and provides a shortcode to display it wherever you need it.
Enable the feature
- Go to Settings > Tweaks for LearnDash.
- Tick Certificate Image and click Save Changes.
Set the second image on a certificate
- Go to LearnDash LMS > Certificates and edit (or create) a certificate.
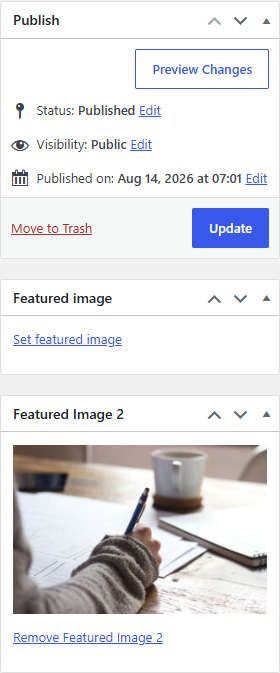
- In the sidebar, below the standard Featured image panel, find the new Featured Image 2 panel.
- Click Set Featured Image 2, choose an image from the media library, and update the certificate.
Display the image with the shortcode
Use [certificate-image-2] in the certificate content, or anywhere else by passing the certificate's ID:
[certificate-image-2 id="456" size="medium" class="my-seal"]
| Parameter | What it does |
|---|---|
id | The certificate post ID. Optional inside the certificate itself; required elsewhere. |
size | An image size: thumbnail, medium, large, a custom size registered by your theme, or a number of pixels. Defaults to full size. |
width, height | Exact pixel dimensions; overrides size. If only width is given, it is used for both dimensions. |
class | Extra CSS class(es) added to the image. |
The shortcode outputs a standard image tag. If the certificate has no second image set, it outputs nothing.
Notes
- The standard featured image is untouched. This feature only adds a second one.
- Certificates are built like any LearnDash certificate; see the official certificate documentation for the basics.