6.4 The Members Screen
The Members screen (under WooCommerce → Memberships → Members) is where you grant a user a membership and manage its status. Because MemberDash watches membership changes, granting or changing a membership here is what drives a member's LearnDash course access.
Adding a member
-
Go to WooCommerce → Memberships → Members and click Add New User Membership.
-
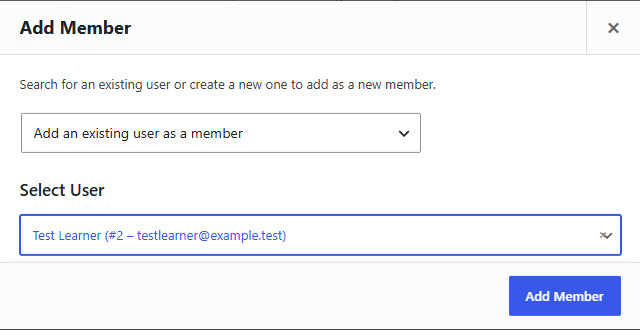
In the Add Member dialog, keep Add an existing user as a member selected (or switch to Create a new user to add as a member), choose the person under Select User, and click Add Member.
-
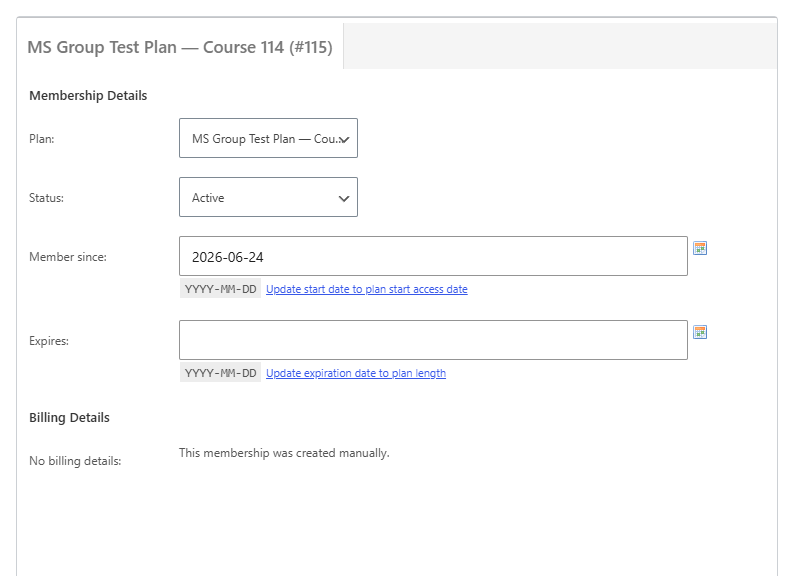
On the membership screen that opens, set the Plan, the Status (e.g. Active), and an expiry if needed, then click Save.
Editing a member
Hover a member in the list and click Edit. You can change their plan and expiry, and set the membership Status from the dropdown: Active, Delayed, Complimentary, Pending Cancellation, Paused, Expired, or Cancelled.
What MemberDash does automatically
- Setting a membership to Active (or Pending) enrols the member in the plan's courses and groups.
- Setting it to Cancelled / Expired / Paused removes that access — unless the member still holds it through another active membership.
Removing a member
Editing a membership offers a Delete action that permanently removes the user membership (you can choose a cancellation reason and whether to refund). Deleting the membership likewise removes the LearnDash access it granted.
Deleting the user account itself also removes that user's memberships.
To do the core grant as a step-by-step task, see How to Grant Course Access Through a Membership Plan.