Getting Started with Elementor
To make the most of Lifter Elements, it’s important to become familiar with Elementor, a versatile page builder that allows you to design and customize your LMS site visually. With its drag-and-drop interface and advanced styling options, Elementor gives you the freedom to create engaging layouts for your courses and lessons without writing any code.
Please note that the Theme Builder functionality is only available with Elementor Pro.
Elementor's Theme Builder allows you to create theme templates for your **Course Archive, Courses, and Lessons pages. Using Theme Builder templates to change the appearance of your courses and lessons lets you customize their layout globally, so that any tweaks you want to make in the future can be made in one place, while all of your courses' and lessons' content continue to come from LifterLMS.
If you're using the Core (free version) of Elementor, you can build each course and lesson one-by-one using Lifter Element's Widgets and Dynamic tags, however, you won't be able to make templates with the Theme Builder. We highly recommend using our plugin with Elementor Pro.
100 lessons will have completely different titles, videos and text, but in most cases those elements will always be displayed in the same way in terms of font, style, position, etc. Instead of manually building each lesson one-by-one in Elementor, the Theme Builder allows you to create a single layout that can apply to all 100 lessons at the same time, dynamically displaying the correct content.
1. Installing Elementor
To begin, you’ll need to install the Core (free version) of Elementor. Lifter Elements works with the Core (free version) of Elementor, however, some widgets and features require Elementor Pro to be fully functional so we highly recommend using Elementor Pro. More details in our FAQs here.
Install Elementor Core (Free)
- Go to your WordPress dashboard.
- Navigate to Plugins > Add New.
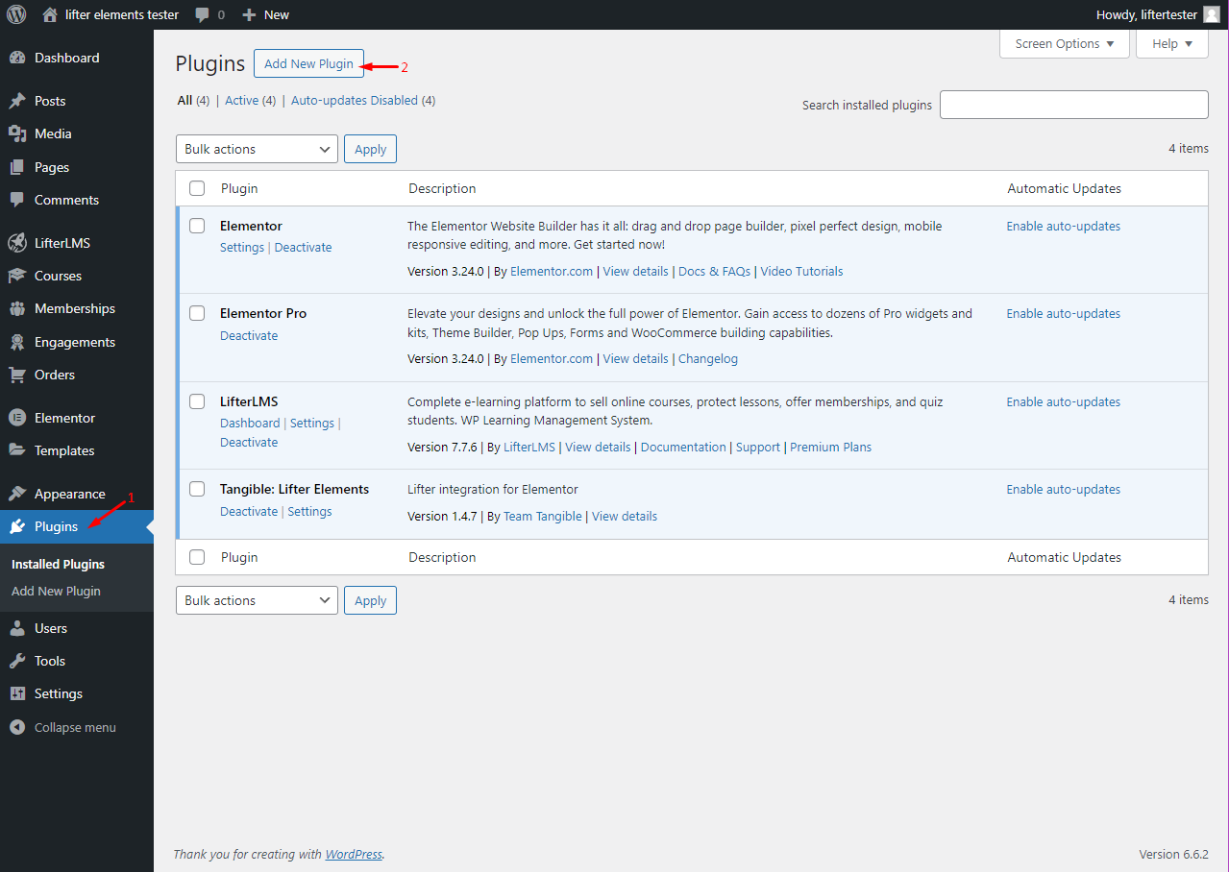
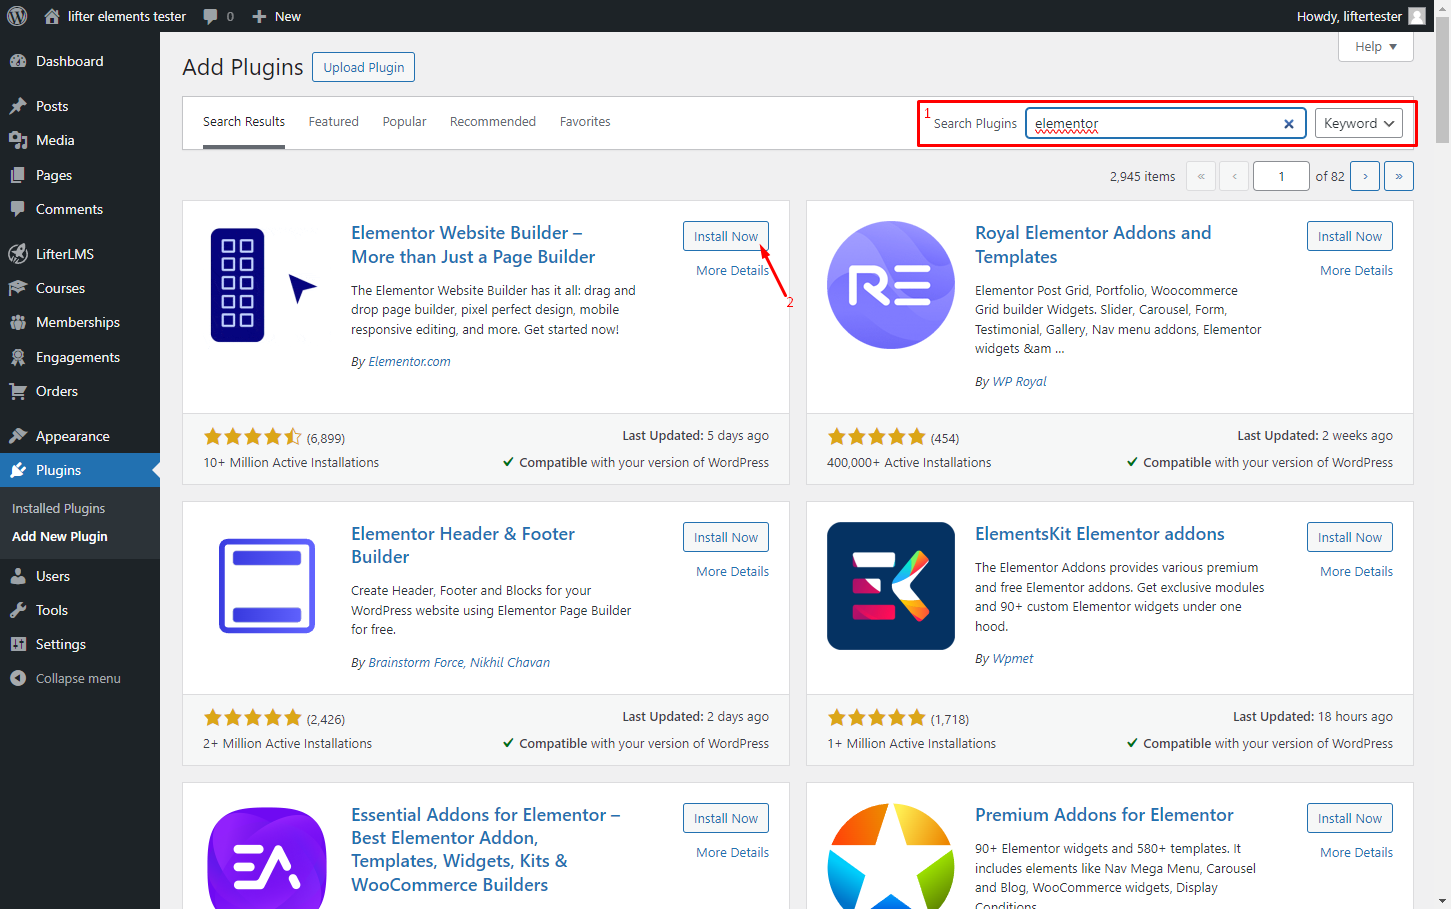
- Search for “Elementor” and click Install Now.
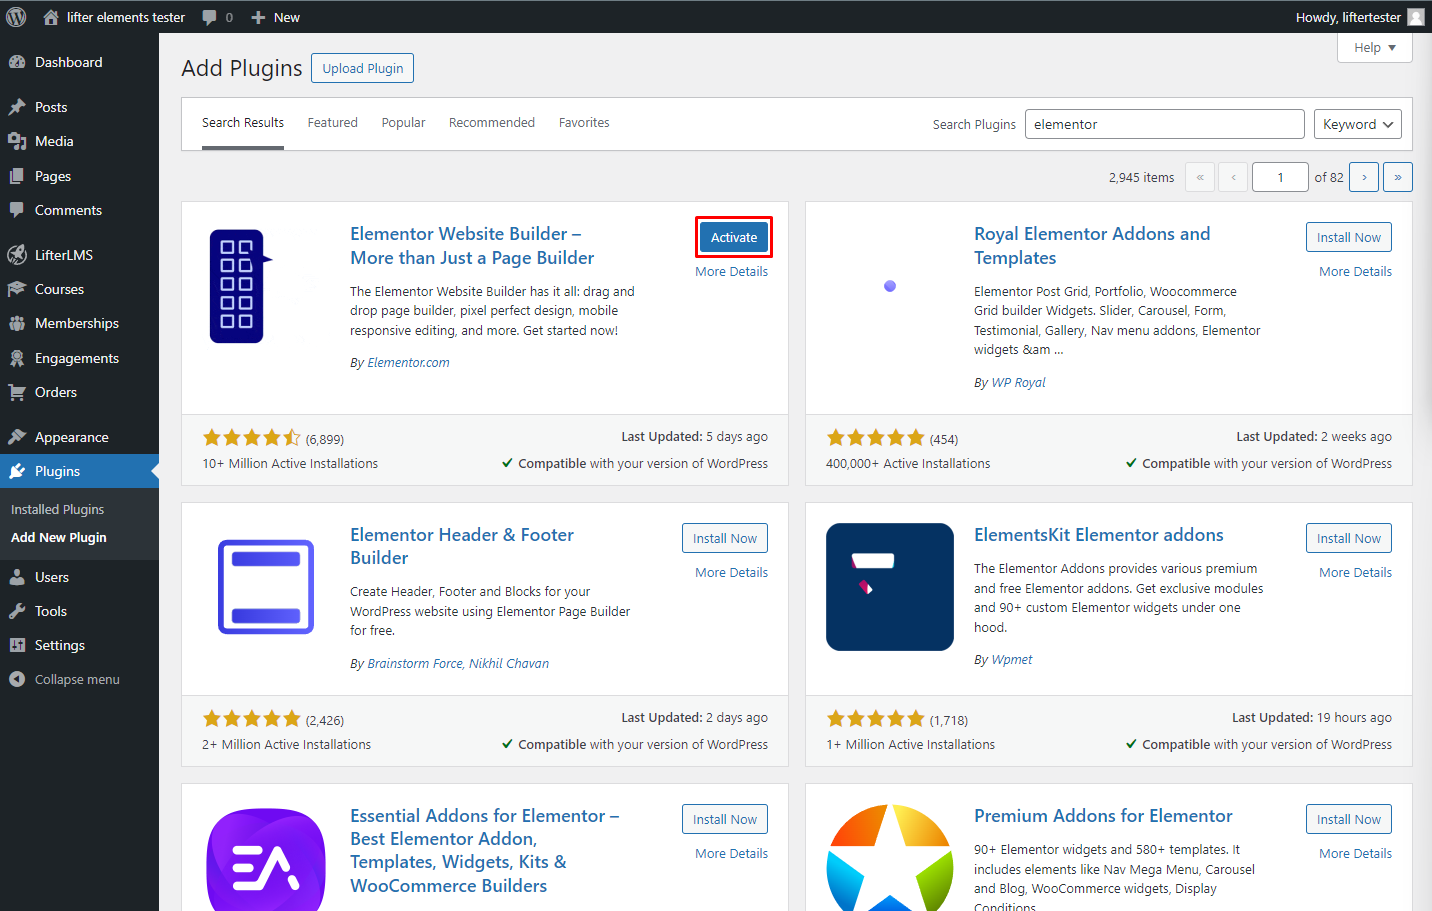
- Click Activate after installation.
For more detailed instructions, check out Elementor's official installation guide.
Install Elementor Pro
- Purchase Elementor Pro from the Elementor website.
- Download the plugin’s zip file.
- In WordPress, go to Plugins > Add New.
- Click Upload Plugin, select the Elementor Pro zip file, and install it.
- Activate the plugin and enter your license key.
You can follow the step-by-step installation guide for Elementor Pro here.
2. Exploring the Elementor Interface
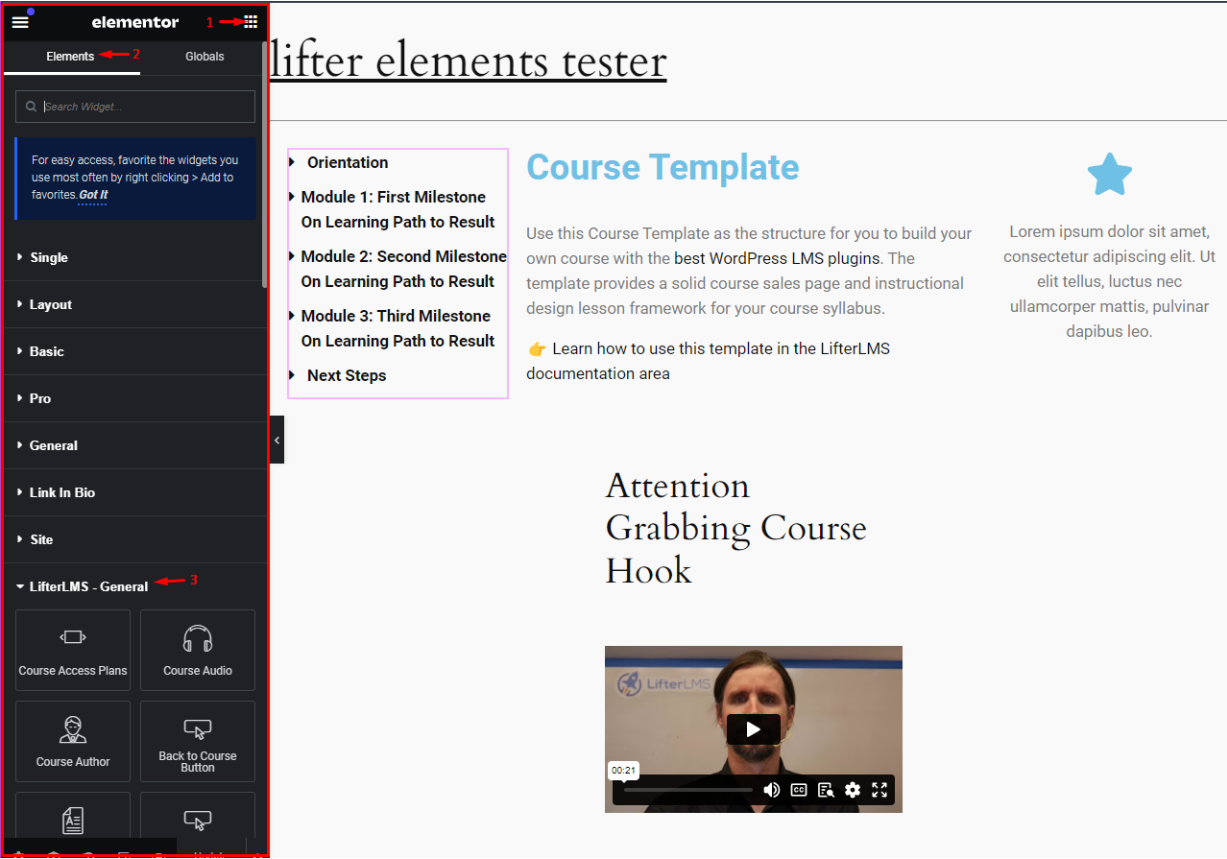
Once Elementor is installed, you can begin using its visual editor to design your LMS pages. Here’s an overview of the key areas in Elementor’s interface:
- Widgets Panel: On the left, you’ll find a range of widgets, including Lifter Elements widgets for course content.
- Canvas Area: This is your design workspace where you can drag widgets and build your pages.
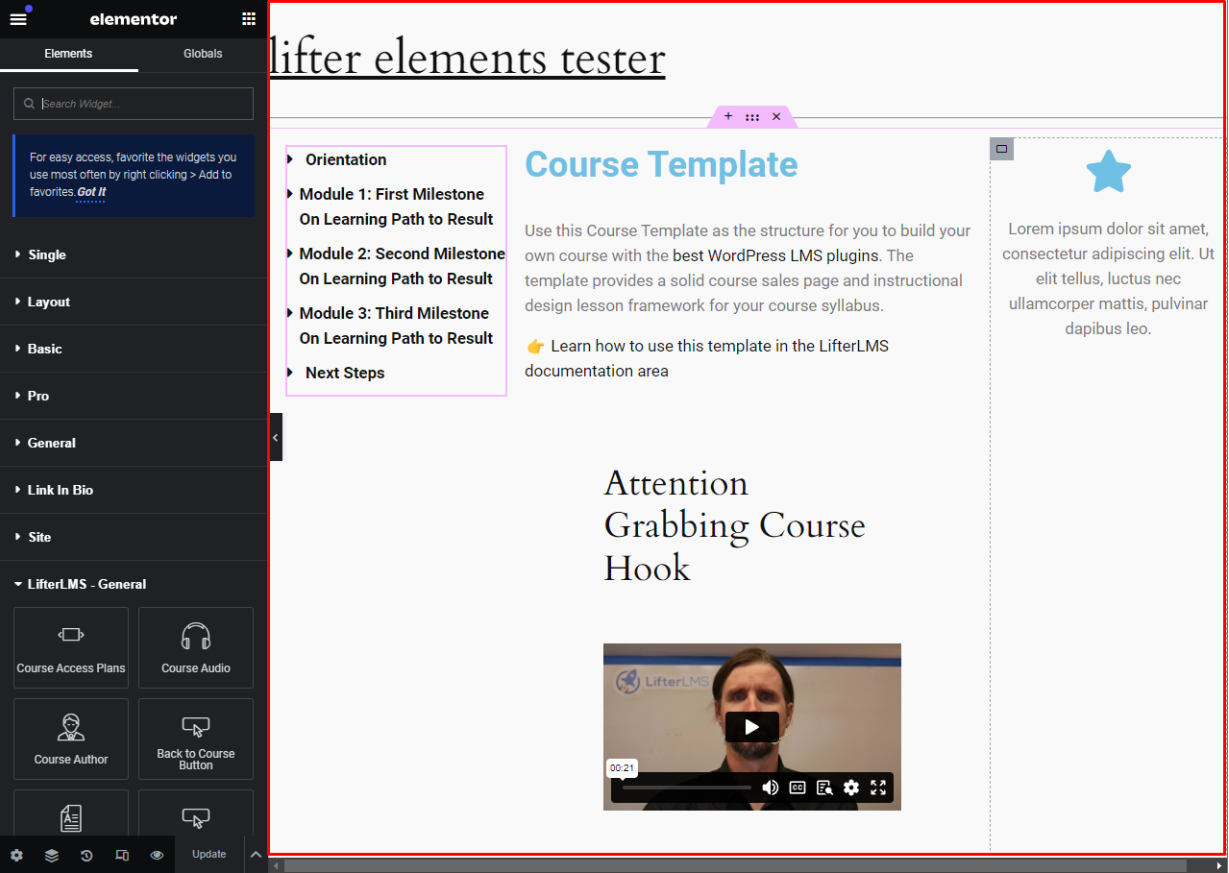
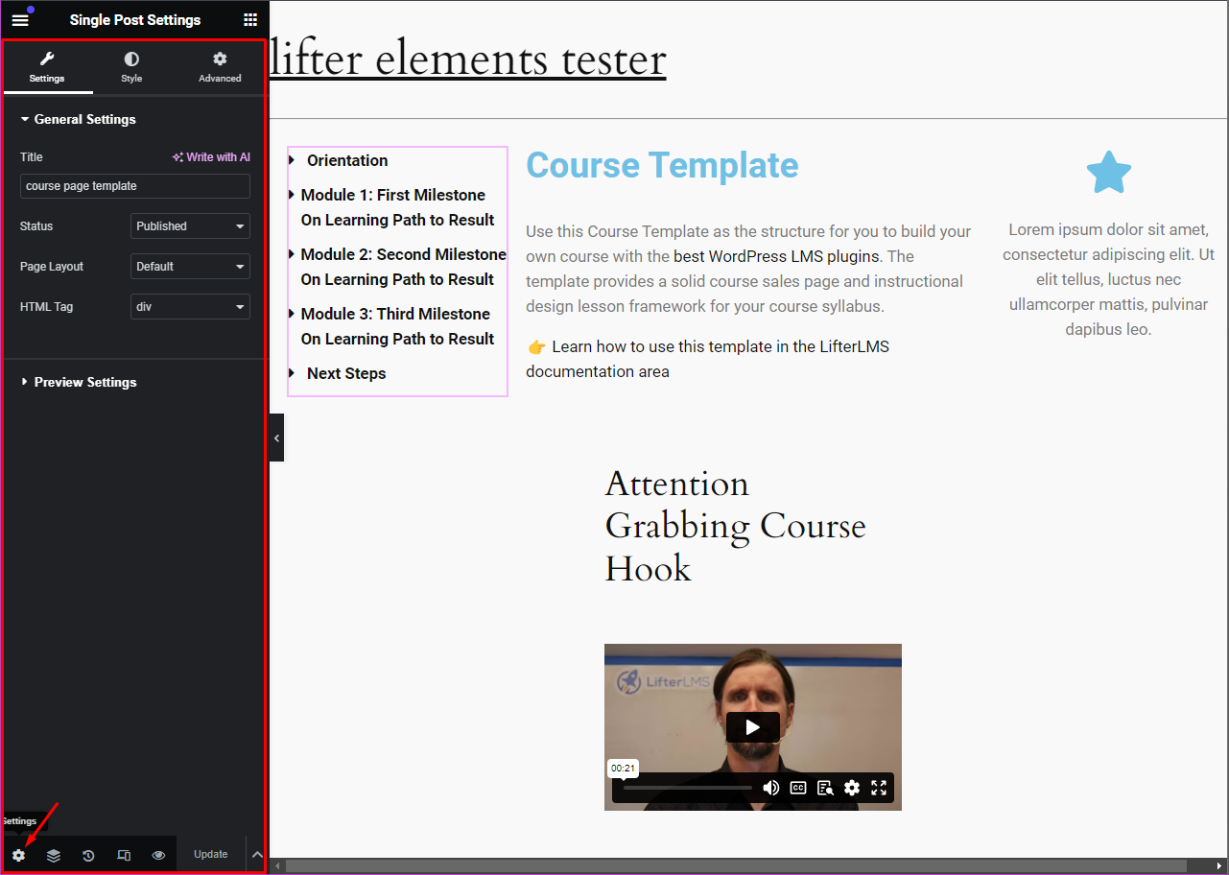
- Settings Panel: Adjust page settings, styles, and responsive layouts using this panel.
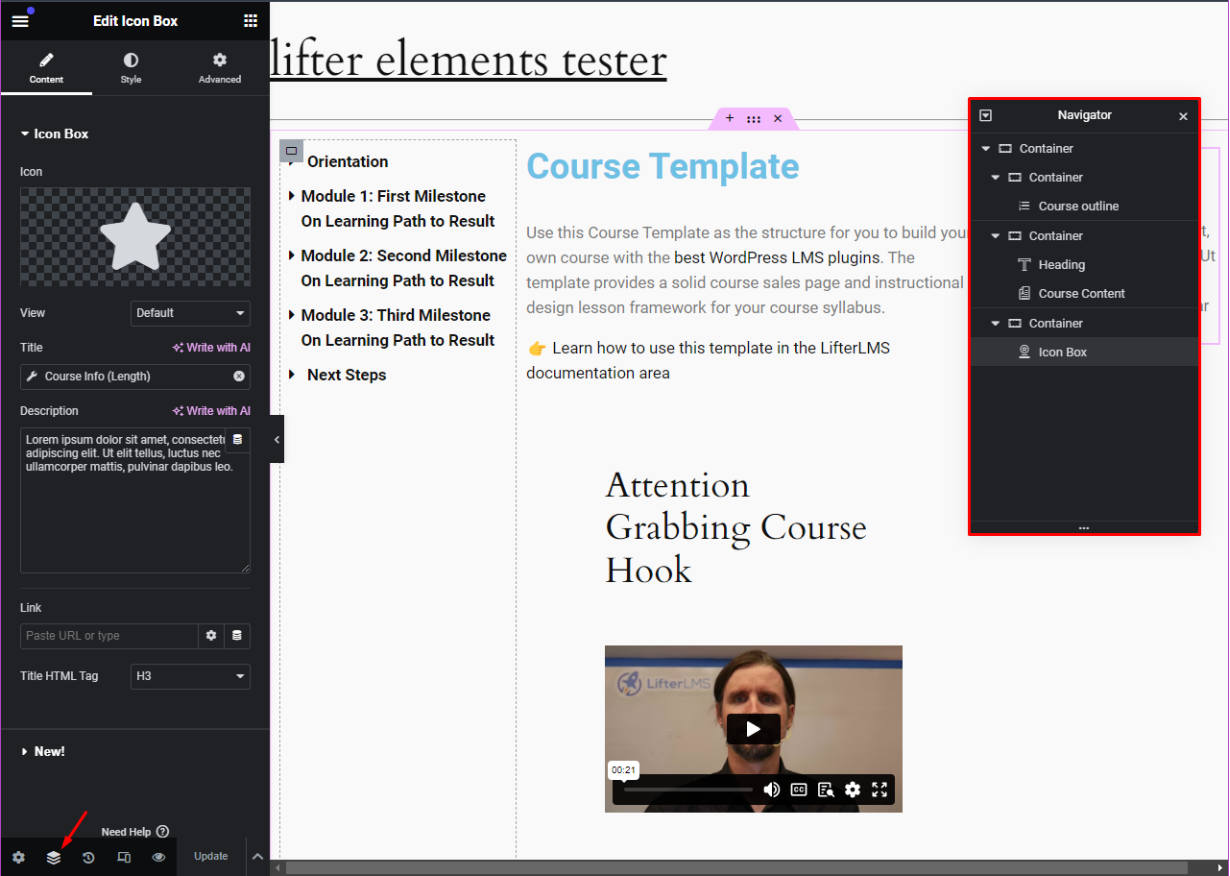
- Navigator: This tool shows a hierarchical view of your page’s elements and helps manage complex layouts.
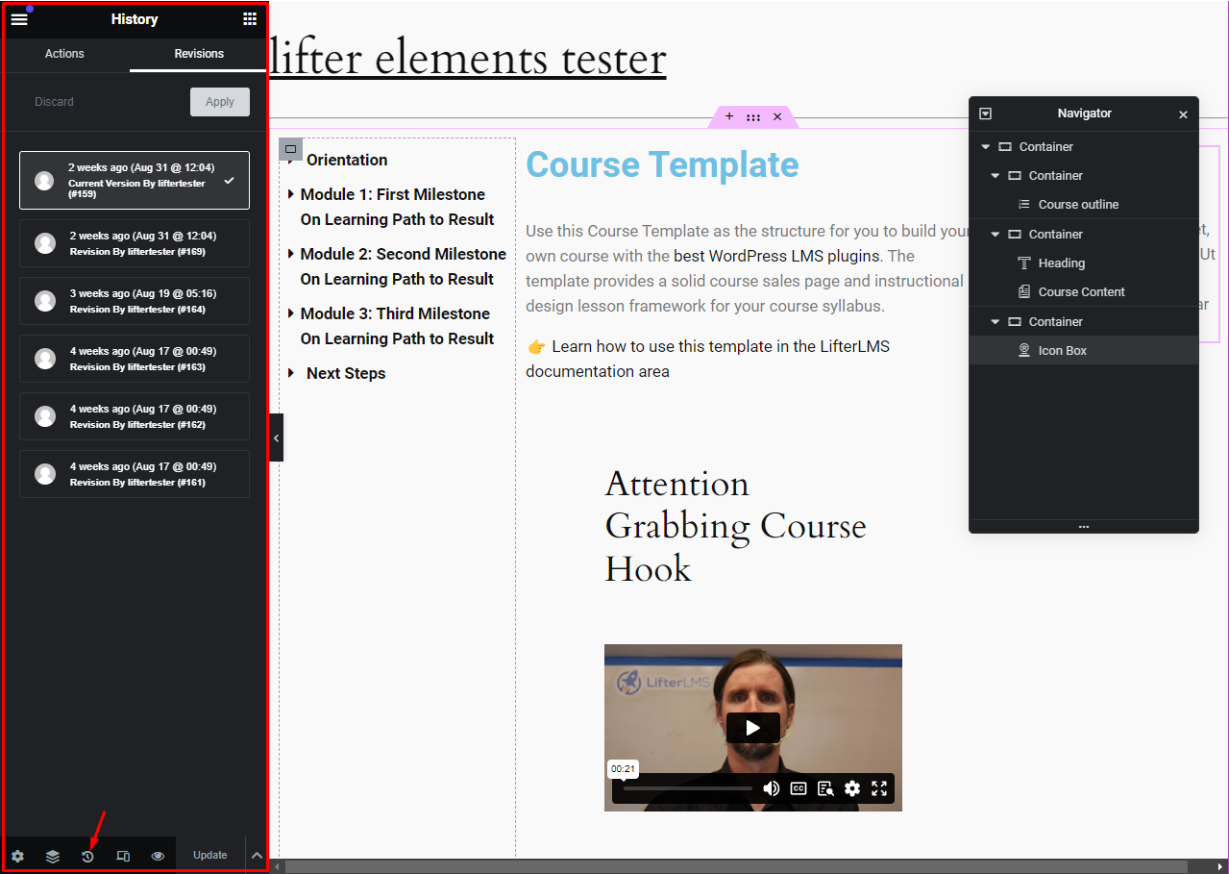
- History Panel: Track and undo/redo your changes effortlessly.
We also recommend their “Use containers to build your first page” guide as an introduction to using Elementor.
3. Creating Your First LMS Page with Elementor
Now that you’re familiar with the interface, let’s create your first LMS page:
- Navigate to Pages in your WordPress dashboard and click Add New.
- Name your page and click Edit with Elementor.
- Use the Widgets Panel to drag and drop Lifter Elements widgets like Course Access Plans or Course Author onto the Canvas Area.
- Customize the widgets’ design and functionality in the left-hand panel.
- Preview your work in real-time and save the page when ready.
You can also refer to Elementor’s guide on how to create pages for additional tips.
4. Using Elementor’s Theme Builder for LMS Customization
Elementor Pro’s Theme Builder allows you to create site-wide templates for headers, footers, and dynamic course pages, making it easier to manage and update your LMS design.
To get started:
- Go to Templates > Theme Builder in your WordPress dashboard.
- Select the type of template you want to create (header, footer, single course page, etc.).
- Use Lifter Elements widgets within your templates to display dynamic course and membership content.
- Set display conditions to determine where and when each template appears across your site.
You can find more detailed guidance on the Theme Builder and how to create custom templates.
An Elementor page is a standalone design for individual pages or posts, customized within the Elementor editor. In contrast, an Elementor Theme Builder template defines layouts and designs applied site-wide (e.g., for headers, footers, or dynamic content areas) and controls the structure of multiple pages at once.